With the latest ShiVa 2.0 beta 2, you can take advantage of our greatly improved HTML5/WebGL engine, which now sports IE11 and gamepad support, better performance, and canvas resizing among other enhancements. The feature we want to talk about in this tutorial is the new JavaScript (JS) bridge that allows your ShiVa games to communicate with the sites they are embedded on. If you ever wanted to build an interface with HTML controls, but render the results in ShiVa, or needed to communicate user data from the surrounding web page, this is the tutorial for you.
Building a Bridge
The backbone for all communication between your ShiVa HTML5/WebGL game and the web page is JavaScript. Before you can use the bridge for you own data, we need to initialize the ShiVa event API function pointers. We recommend to do this in a SCRIPT tag in the HEAD section of your webpage:
// init ShiVa API pointers
function initBridge() {
	shiva_user_event_args_clear = Module.cwrap ( 'shiva_user_event_args_clear', 'number' ) ;
	shiva_user_event_args_push_number = Module.cwrap ( 'shiva_user_event_args_push_number', 'number', ['number'] ) ;
	shiva_user_event_args_push_string = Module.cwrap ( 'shiva_user_event_args_push_string', 'number', ['string'] ) ;
	shiva_user_event_args_push_boolean = Module.cwrap ( 'shiva_user_event_args_push_boolean', 'number', ['number'] ) ;
	shiva_user_event_send = Module.cwrap ( 'shiva_user_event_send', 'number', ['string', 'string'] ) ;
	document.getElementById ( 'shivafocus' ).focus();
}
On the ShiVa side, you need to call this JS function when your game has loaded. Simply call this function on the end of your main script onInit():
system.openURL("javascript:initBridge()", "")
ShiVa to JS and back
Calling a JS function from ShiVa is very simple, in fact you have already done it with the last command from the previous paragraph. A JS function on the embedding web page is called like this:
system.openURL("javascript:doFunction()", "")
doFunction() accepts parameters like standard JS. If for instance you want to send a message string “msg" (Lua string variable) to JS, simply concatenate like you always do in Lua:
system.openURL("javascript:alertFromShiVa('"..msg.."')", "")
Sending data back to a ShiVa user handler is a little more involved, but the procedure is
always the same:
1. clear argument list
2. push the arguments you need for your ShiVa handler
3. send an event to a ShiVa AI handler
The types of arguments you can push are numbers, strings, and booleans. If you only need one
type of argument, you can leave the others out. A call, again defined in a SCRIPT tag in the
HEAD of the document, could look like this:
function sendEventToShiVa ( ) {
	shiva_user_event_args_clear ( ) ;
	shiva_user_event_args_push_number ( 1234 ) ;
	shiva_user_event_args_push_string ( 'hello from js' ) ;
	shiva_user_event_args_push_boolean ( true ) ;
	shiva_user_event_send ( 'TEST_ExternalEvents', 'onUpdateText' ) ;
}
This function would call the handler “onUpdateText" in the ShiVa user AIModel “TEST_ExternalEvents" and transmit 3 arguments: “onUpdateText ( 1234, ‘hello from js’, true )"
Page Controls
Since you must not reload the page when you click buttons on your page or submit the text in an input control, it is important that all data is transmitted using JS and not standard html forms. To fire up a function, you can use JS events like onclick, mouseover, mouseout, and so forth:
<button id=“jsbutton1" onclick="toggleStuff()">A Button</button>
Giving your control an ID is a good idea, so you can easily refer to it later with the snippet
var the_control = document.getElementById ( ‘the_id’ );
Staying Focused
By default, your ShiVa HTML5 game captures all the input in can get – which is great if
the game is the only thing on the website that needs input: you will always be able to
control your on-screen character, no matter where your mouse is if you have accidentally
clicked outside the game canvas.
This default behaviour becomes a major problem if you are planning on having external
controls such as buttons and text inputs, since you will not be able to use them without
modifying your JS .focus() by hand. Unfortunately, focusing a canvas element is not
universally supported throughout all web browsers, so we must code around this
limitation.
First, you should encapsulate the ShiVa canvas with an editable block element:
<div id="shivafocus" contenteditable="true"><canvas class="shiva" id="canvas" [...etc...]></canvas></div>
This way, we can always refer to the canvas using its parent ID “shivafocus" without addressing the canvas itself. “Contenteditable" makes the DIV accept inputs. To avoid having focus highlighting and having characters printed into the div itself, we need to define a CSS snippet in a STYLE tag inside the page HEAD:
#shivafocus, #shivafocus:focus {
	outline: none; /* hide focus highlight */
	font-size:0; /* hide text */
}
Next, you need to decide on an area on the page where the game may accept inputs from. In our demo, we wanted to accept keys from the shivafocus DIV, so we added the following line to the MODULE declaration in the web page:
keyboardListeningElement: document.getElementById('shivafocus'),
You can change the keyboardListeningElement to any ID’d DOM element you like, but we
recommend using a parent of the ShiVa canvas that does not interfere with any on-page
controls or has on-page controls in child nodes.
To make focus handling more natural, we added the optional function
function returnFocusToShiva() {
	document.getElementById ( 'shivafocus' ).focus();
}
to the mix. You can call it whenever you have submitted a form, clicked on a button, or just want to return input the the game, so users do not have to click on the canvas or surrounding div. Another addition we suggest concerns the mouseover event on the shivafocus DIV, which makes for a very natural focus transition:
<div id="shivafocus" contenteditable="true" onmouseover="returnFocusToShiva()"><canvas class="shiva" id="canvas" [...etc...]></canvas></div>
Demo Time
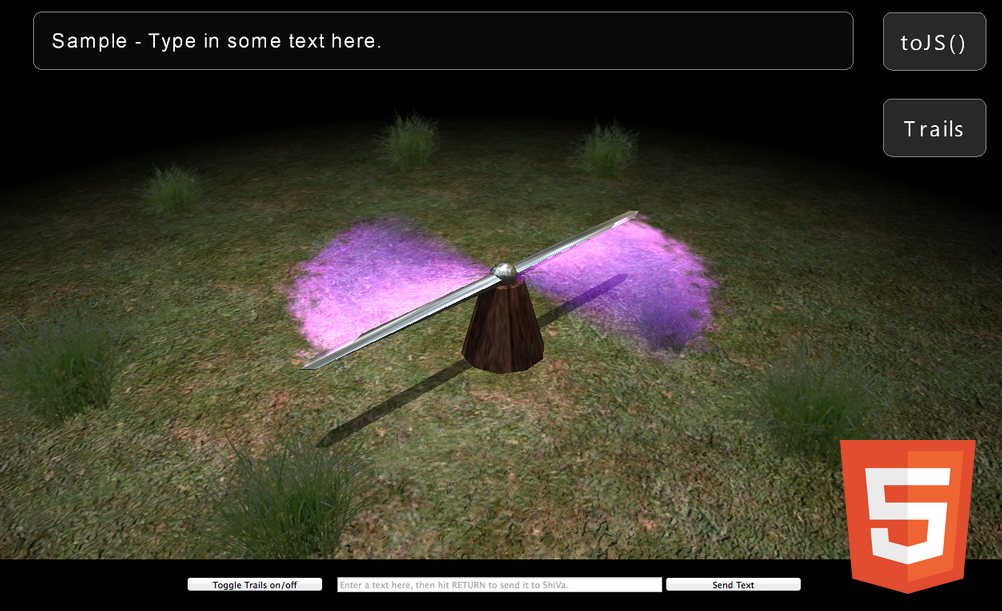
So, how does it all look in action? We have prepared a small demo for you:
