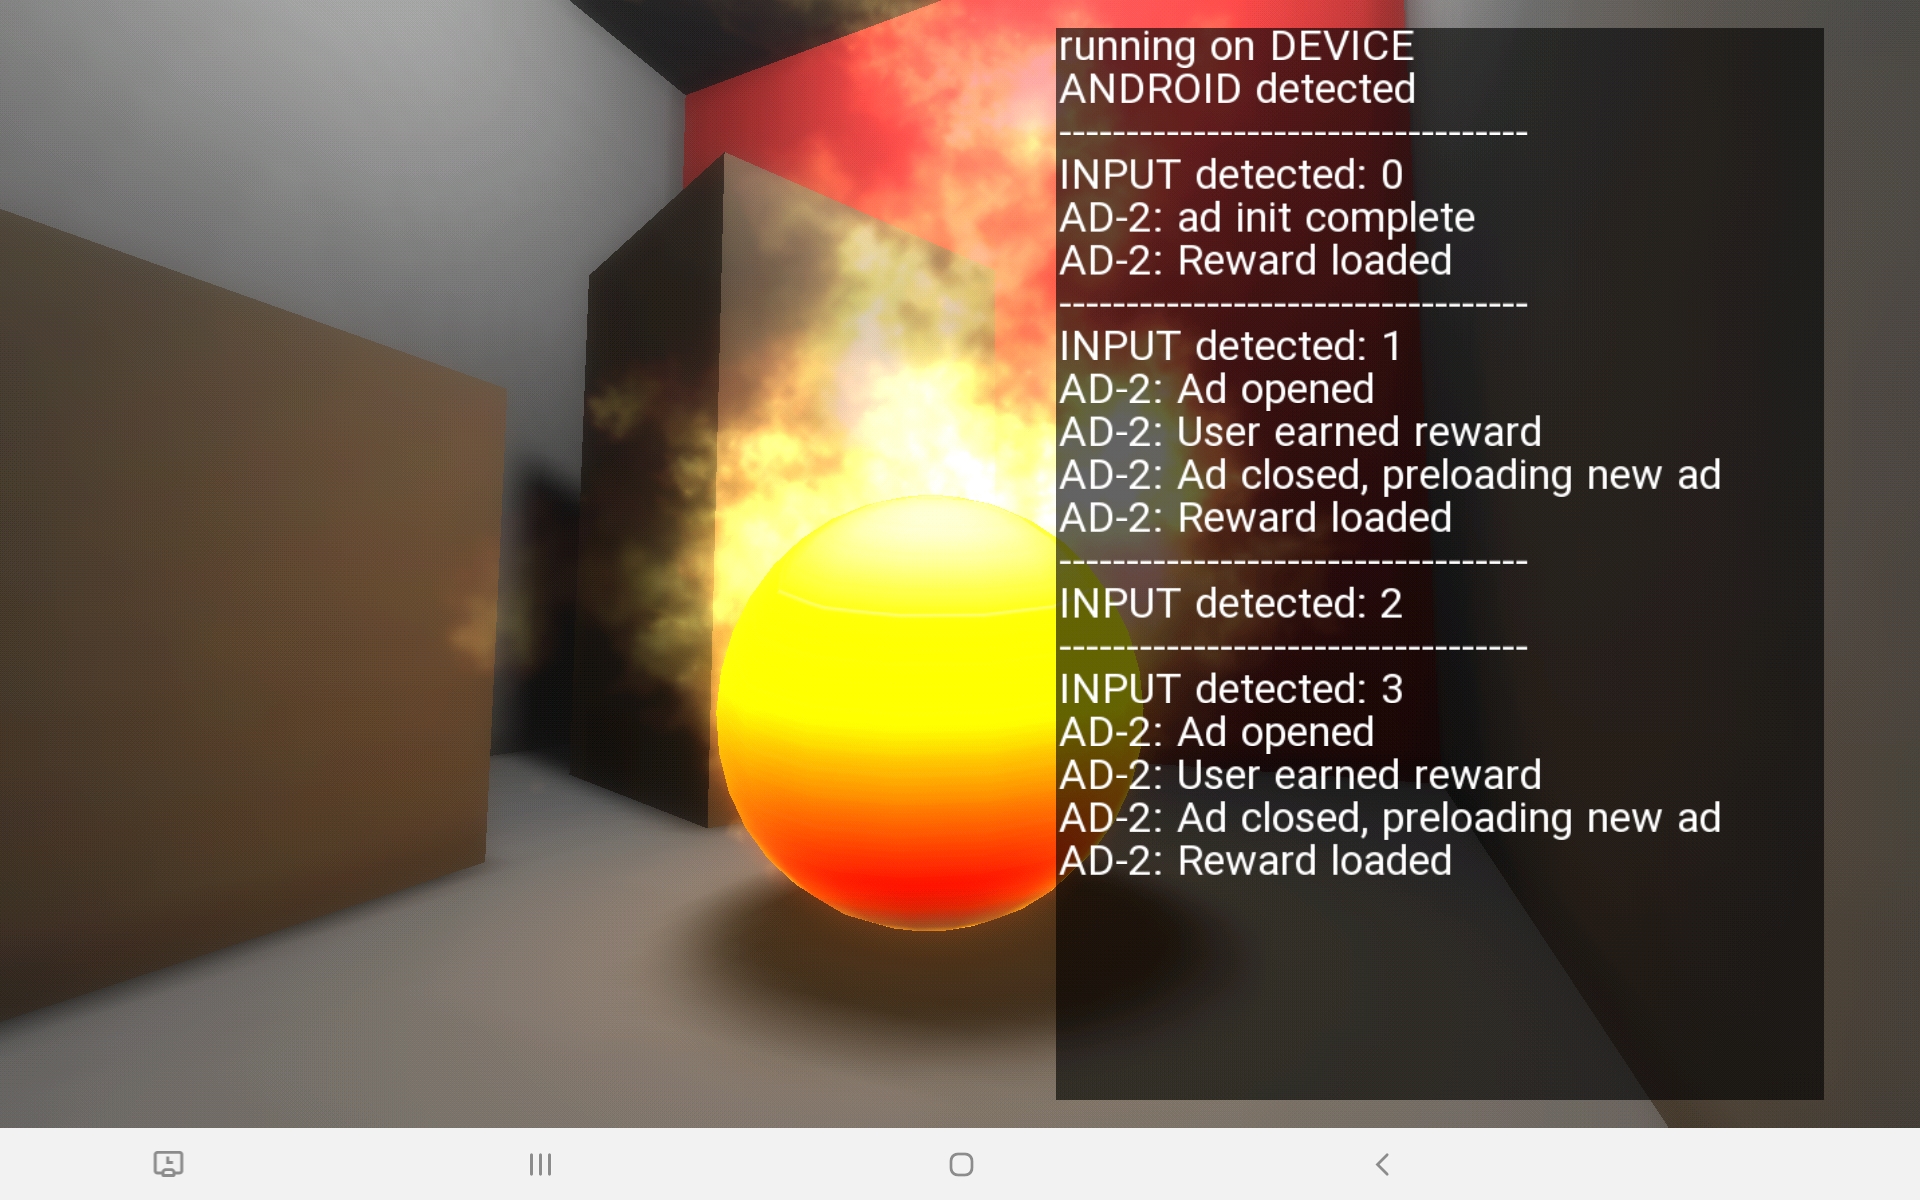
Building on all the previous tutorials, we are going to put everything we have learned to the test by integrating Google AdMob into our test project. Since it is currently one of the most popular ways to monetize your game, we will be looking at video rewards specifically.
Learning about AdMob
AdMob is an advertising platform currently owned by Google. Before we start with the tutorial proper, you should have a quick look at the available resources in order to learn more about the service and decide on which of its parts you actually want to use. Here are some links to get you started: redacted for this archive
ShiVa handlers
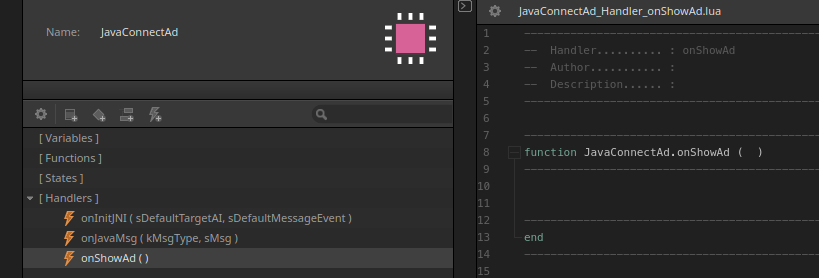
For our ShiVa setup, we are going with the same approach as in tutorial 4: no separate C++ plugin and empty AIModel handlers. You already know from the previous tutorial that we need an init handler to jumpstart the plugin, and a message handler to process incoming signals. I added a new handler called onShowAd() which we will use to launch new ad videos. All these handlers are of course empty. Once everything is set up, export your game as an Android Studio project.
Adding AdMob
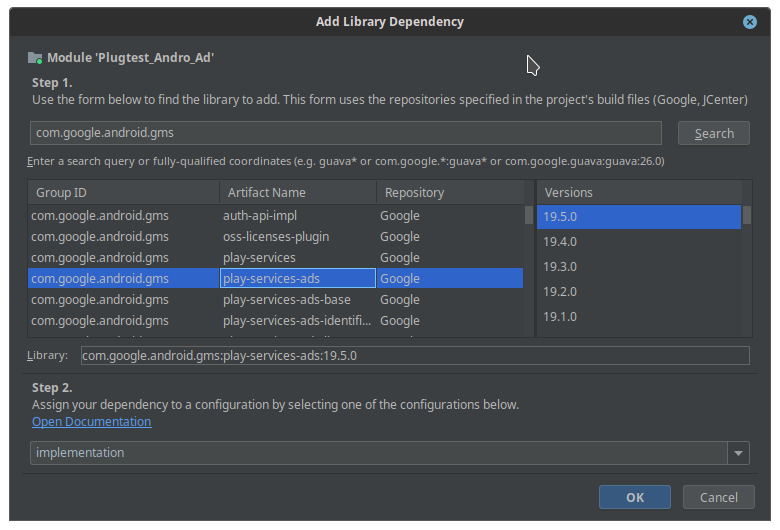
Before you can start using AdMob, you need to integrate the library into your project. Go to File > Project Structure and select Dependencies. Click on your game module, then the + icon in the top left corner and select Library Dependency.

Search for the GMS package which hosts the play-service-ads. Unless you know you need a specific version, choose the latest one. Please be aware that higher versions of the play services require higher versions of Android. I used v19.5.0 for this tutorial and had to compile the project against Android 9. If you want to make your game available on older Android versions, you will have to choose an older, matching ad version too. To get a good estimate of what will run on which version of Android, please have a look at the release notes: developers.google.com release notes
AdMob requires two keys/IDs, one for the ad type (ad package) and one for the application itself. Luckily, there are test IDs which we can use for this demo project. The keys are listed here: developers.google.com test ads Make sure you replace these test IDs with your own ad unit ID before publishing a real app.
The first key, your App ID, must be added to the AndroidManifest.xml using a meta-data tag inside the application block:
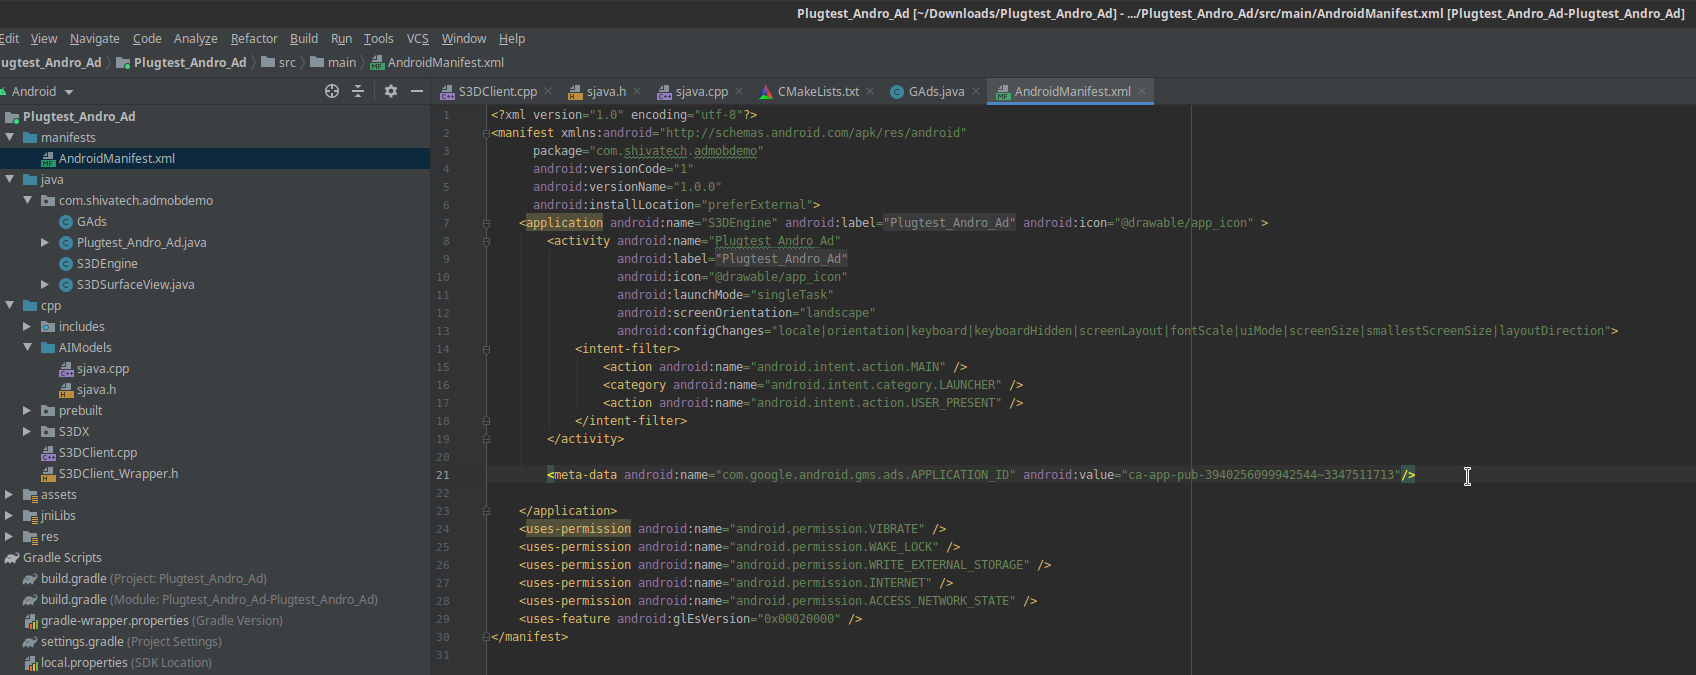
<meta-data android:name="com.google.android.gms.ads.APPLICATION_ID" android:value="ca-app-pub-3940256099942544~3347511713"/>
The other key is required later in the Java code we still have to write. But before we can get to that, we need to link our empty Lua handlers to native C++ code like we did in tutorial 4.
Native handlers
Once again, we start adding our native code by creating a new C++ class inside the AIModel folder. After converting the class to a namespace, we can essentially copy the same boilerplate code from tutorial 4: default handler strings, pointers for JNI and flags for the initialization check. For our function prototypes, we need one for the init() and one to show our ads.
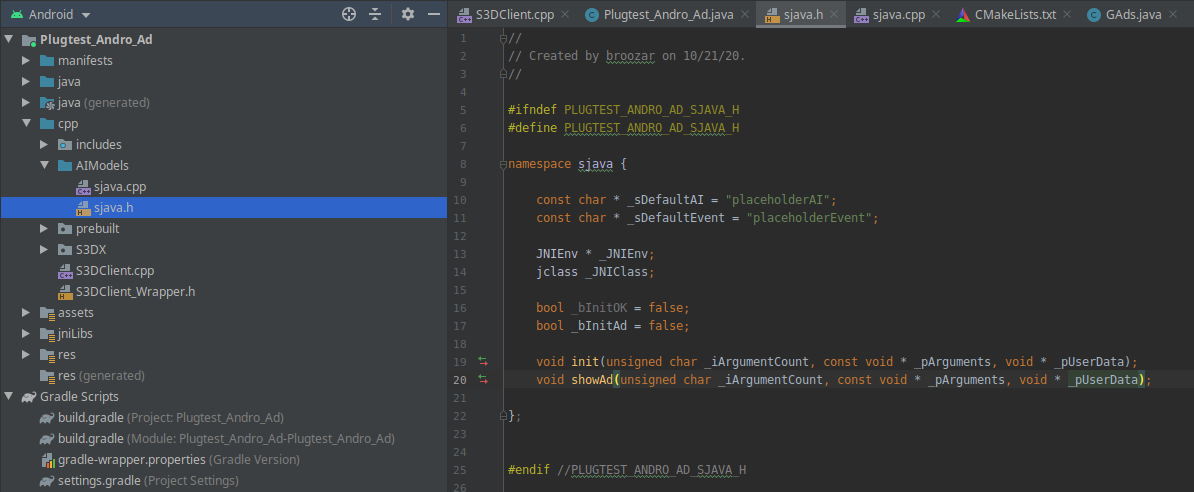
Add the sjava.h file to S3DClient.cpp…
#include "AIModels/sjava.h"
… and don’t forget to fill the sjava::_JNIEnv pointer:
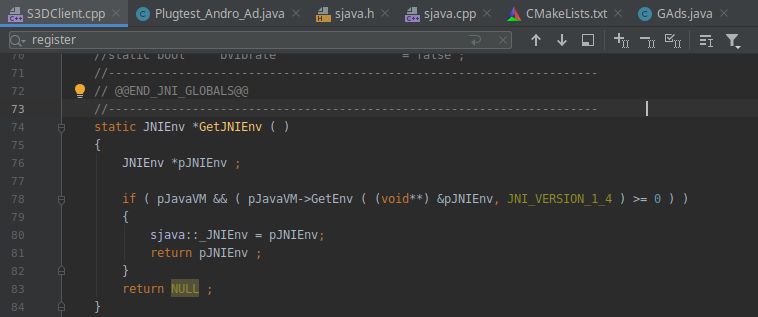
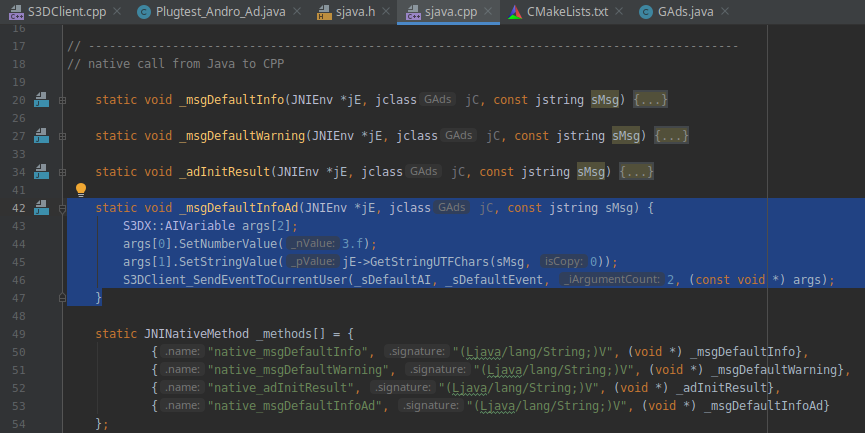
Just as before, register your C++ functions in S3DClient.cpp:

As for the code inside sjava.cpp, it follows the same ideas as in tutorial 4. We do need some additional messaging handlers in order to differentiate between “normal" text messages and those which are generated by ads. If you want a cleaner separation, you could create your own messaging handler for ads in ShiVa.
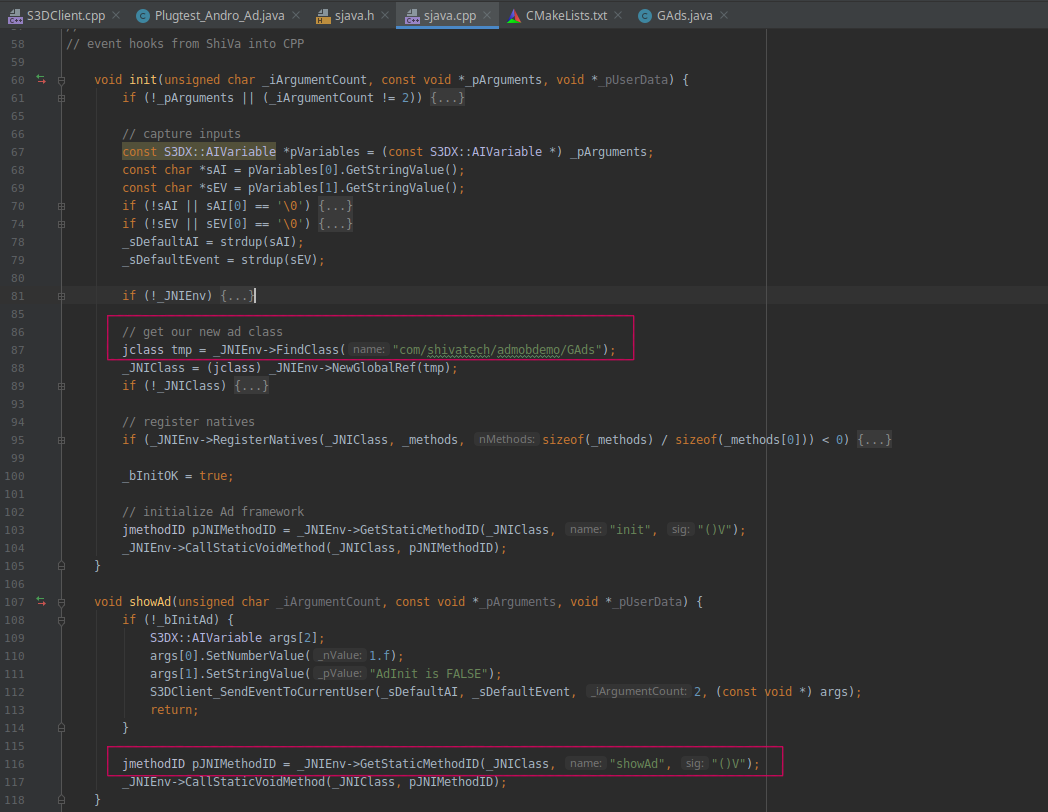
Inside the init() function, we need to connect our C++ code with the Java class we still have to write. This Java class will be responsible for communicating with the ad framework. You also have to connect the showAd() function with Java. I framed the relevant parts in the screenshot below:
AD-ing Java
To communicate with the ad service, you need to extend the ShiVa project with an additional Java class. Go to the java folder, right-click on the package name of your game and add a new Java class:
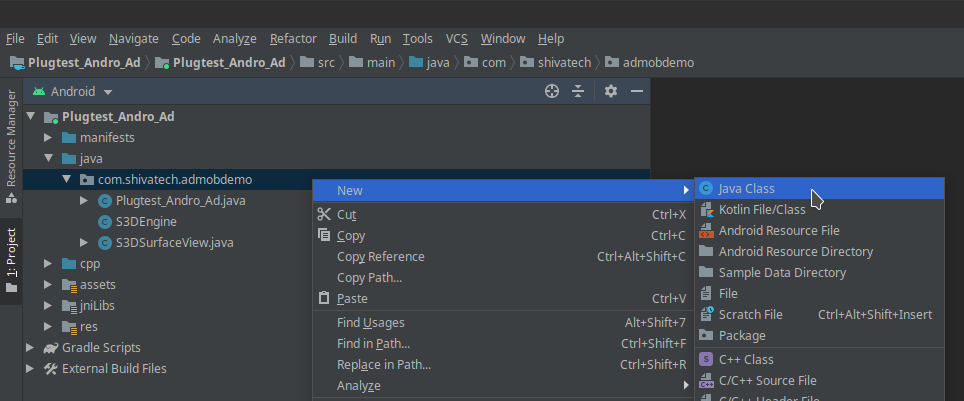
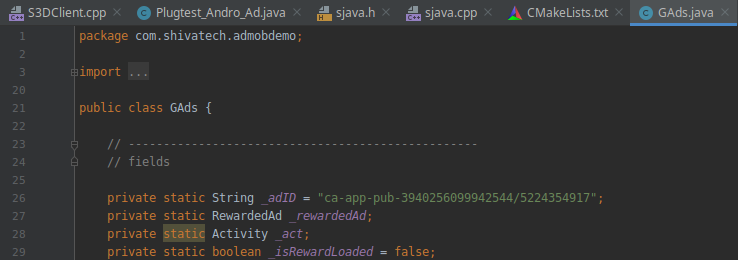
I called this class GAds. You can call it whatever you like, just make sure the name matches the class name and location inside the C++ init() function from above. Before you forget, add your AdID as a private static String to your class. Depending on which type of ads you would like to show, this ID will change.
The video reward system
Since rewarded video ads are currently one of the most popular ways to monetize your game, we will continue this tutorial by focusing on them. First, you have to initialize the ad framework. The following code will not only do that, but also pre-load your first ad:
    public static void init() {
        _act = S3DXAndroidTools.getMainActivity();

        MobileAds.initialize(_act, new OnInitializationCompleteListener() {
            @Override
            public void onInitializationComplete(InitializationStatus initializationStatus) {
                _rewardedAd = new RewardedAd(_act, _adID);
                _rewardedAd.loadAd(new AdRequest.Builder().build(), adLoadCallback);
                native_adInitResult("ad init complete");
            }
        });
    }
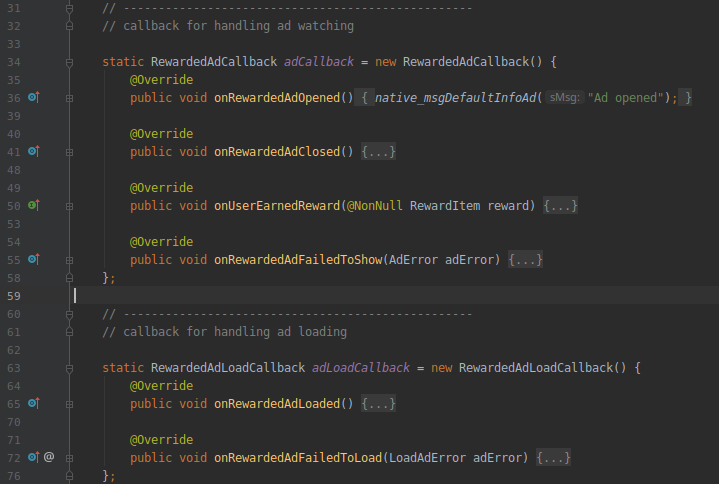
A large portion of the video rewards system is handled through callbacks. The two we need are RewardedAdLoadCallback – which we just used for loading – and RewardedAdCallback, which will handle interactions with the individual ads. To us these callbacks, you need to implement/override all of the predefined handlers. The names are pretty self explanatory:
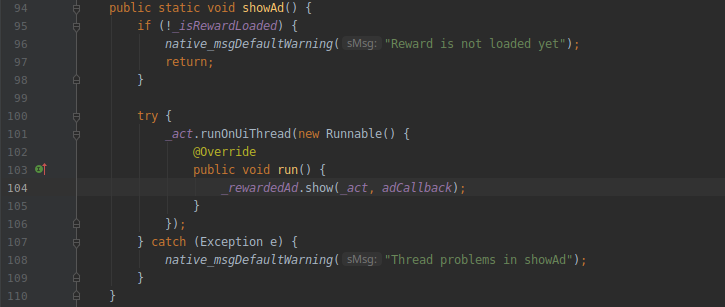
Calling the showAd() method makes a callback to your RewardedAdCallback implementation. Calls to your callbacks must be done in the UI thread, otherwise your application will crash:
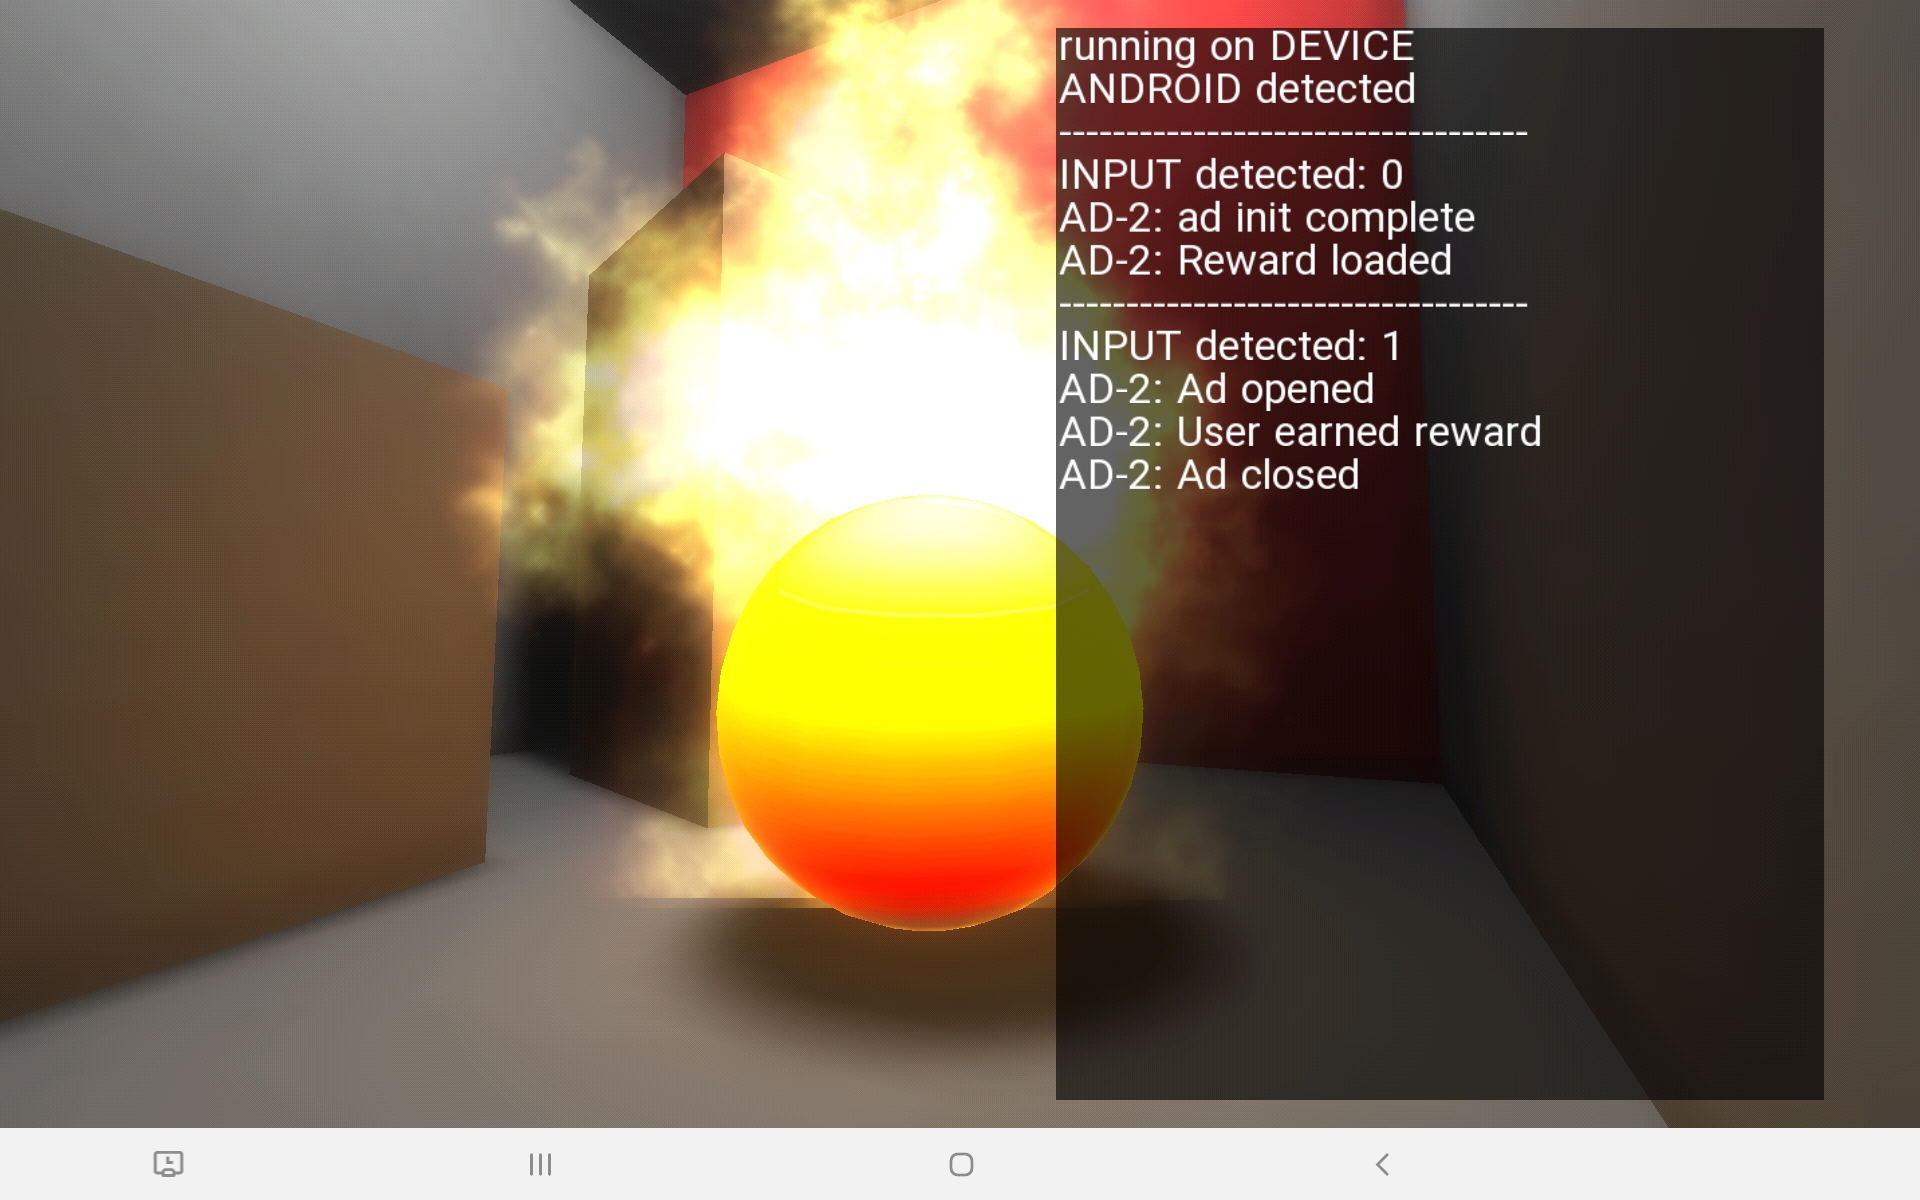
When you now call showAd(), the game will pause and a video will play. If your users quit the video before it has finished, they will get no reward, but if they watch it to the end, they will. This is the corresponding log on my test tablet:
Preloading and playing just a single ad is ineffective. Once an ad has been closed, you should immediately preload the next one:
        @Override
        public void onRewardedAdClosed() {
            native_msgDefaultInfoAd("Ad closed, preloading new ad");

            _isRewardLoaded = false;
            _rewardedAd = new RewardedAd(_act, _adID);
            _rewardedAd.loadAd(new AdRequest.Builder().build(), adLoadCallback);
        }
If you did everything correctly, the log should look like this:
