ShiVa games run natively on a large number of platforms without the need for the developer to adjust anything. Our STK + engine architecture was designed with the “build once, run everywhere” philosophy in mind. There are times however when you want to use a feature that is native to your target platform, in which case you have to write your own plugins. If the target platform native API is coded largely in C or C++, this requires no effort. As soon as you encounter a different language like Objective-C in the Apple platforms, it becomes a much more difficult story. This tutorial will give you an introduction on how to code plugins in the Apple ecosystem and write bridge code between ShiVa and Objective-C/C++.
Method 1: Sticking to C++
The easiest way of writing ShiVa plugins for iOS is sticking to C++ and avoiding any
platform-native code entirely. If the package you want to integrate in your plugin is
written in C or C++, this is the best choice.
You can find the iOS plugin project in the plugin “Make” directory:

As always, you can blindly accept the suggestion Xcode throws at you to bring the project
settings up to the version standards in your Xcode environment:

If you are writing to a certain C++ language specification, make sure to select the
corresponding language dialect in the “Build Settings”:

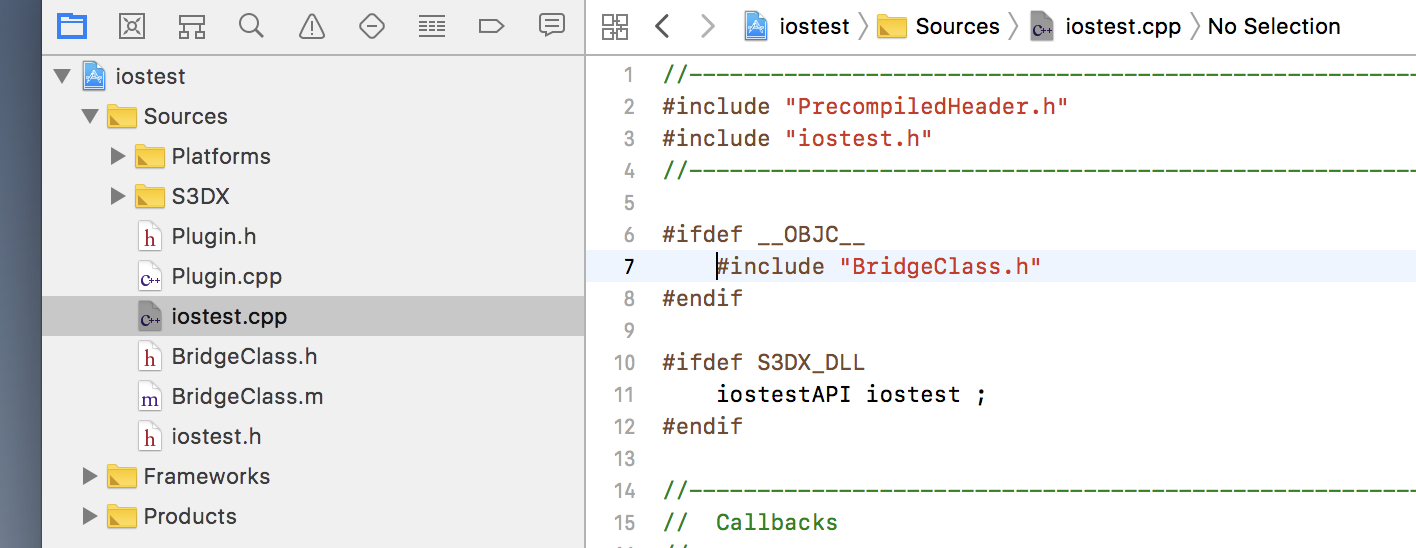
Note how all C++ code files do have the “.cpp” extension, supplemented by their
“.h” headers.
Method 2: Calling Objective-C from C++
Writing purely in C++ will not allow you interface with native iOS calls. In order to use
Objective-C and its syntax in your C++ code, you have to tell the compiler to treat your C++
code as Objective-C++, which is a superset of C++ – like Objective-C is to C. In other
words, you can write C++ code in Objective-C++ files, but the C++ compiler will not
understand your Objective-C++ commands.
Converting a C++ file to Objective-C++ is easy. Changing the “.cpp” file
extension to “.mm” tells Xcode to compile the file with the Objective-C++
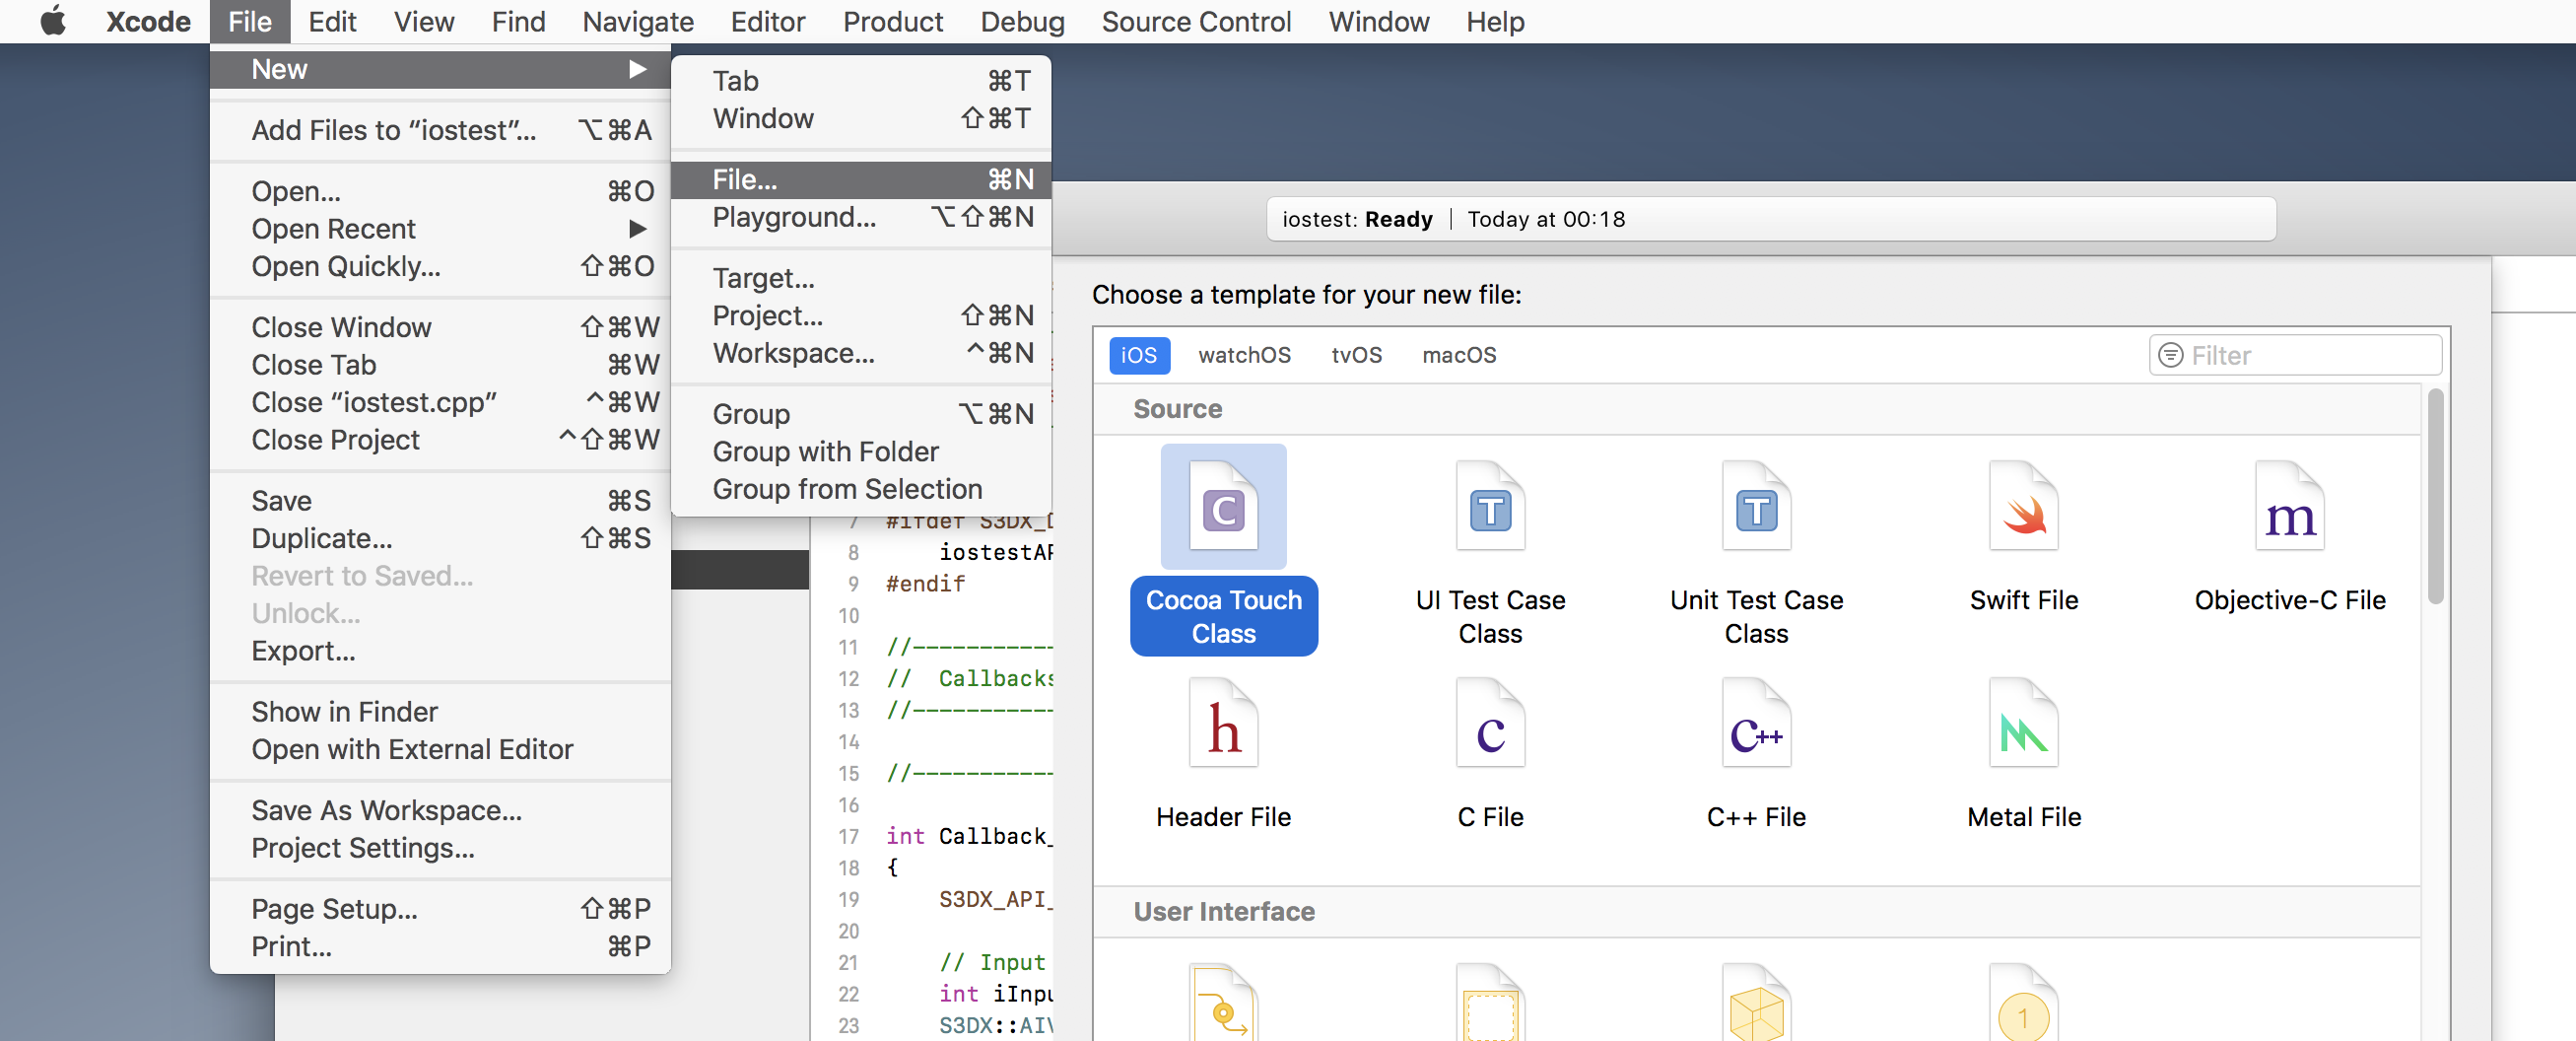
compiler. To make the process fast and easy, go to “File> New> File…” and
select one of the following options. None of the choices fit our purpose perfectly, so
whatever you select, you will have to make changes:
– “Objective-C File”: creates an empty .h and .m file pair, which you have
to rename to .h and .mm
– “C++ File”: creates an empty .hpp and .cpp file pair, which you have to
rename to .h and .mm
– “Cocoa Touch class”: creates a skeleton .h and .m
interface/implementation file pair, which you have to clear out and rename to .h and .mm


Inside the .mm file, you can now mix both C++ and Objective-C calls freely, like so:
void logVersion () {
	NSString * version = [[NSBundle mainBundle] objectForInfoDictionaryKey: @"CFBundleShortVersionString"];
	S3DX::log.message("Running running on version ",
                    [version cStringUsingEncoding:NSUTF8StringEncoding],
                    " build ",
                    [build cStringUsingEncoding:NSUTF8StringEncoding] );
	return;
}
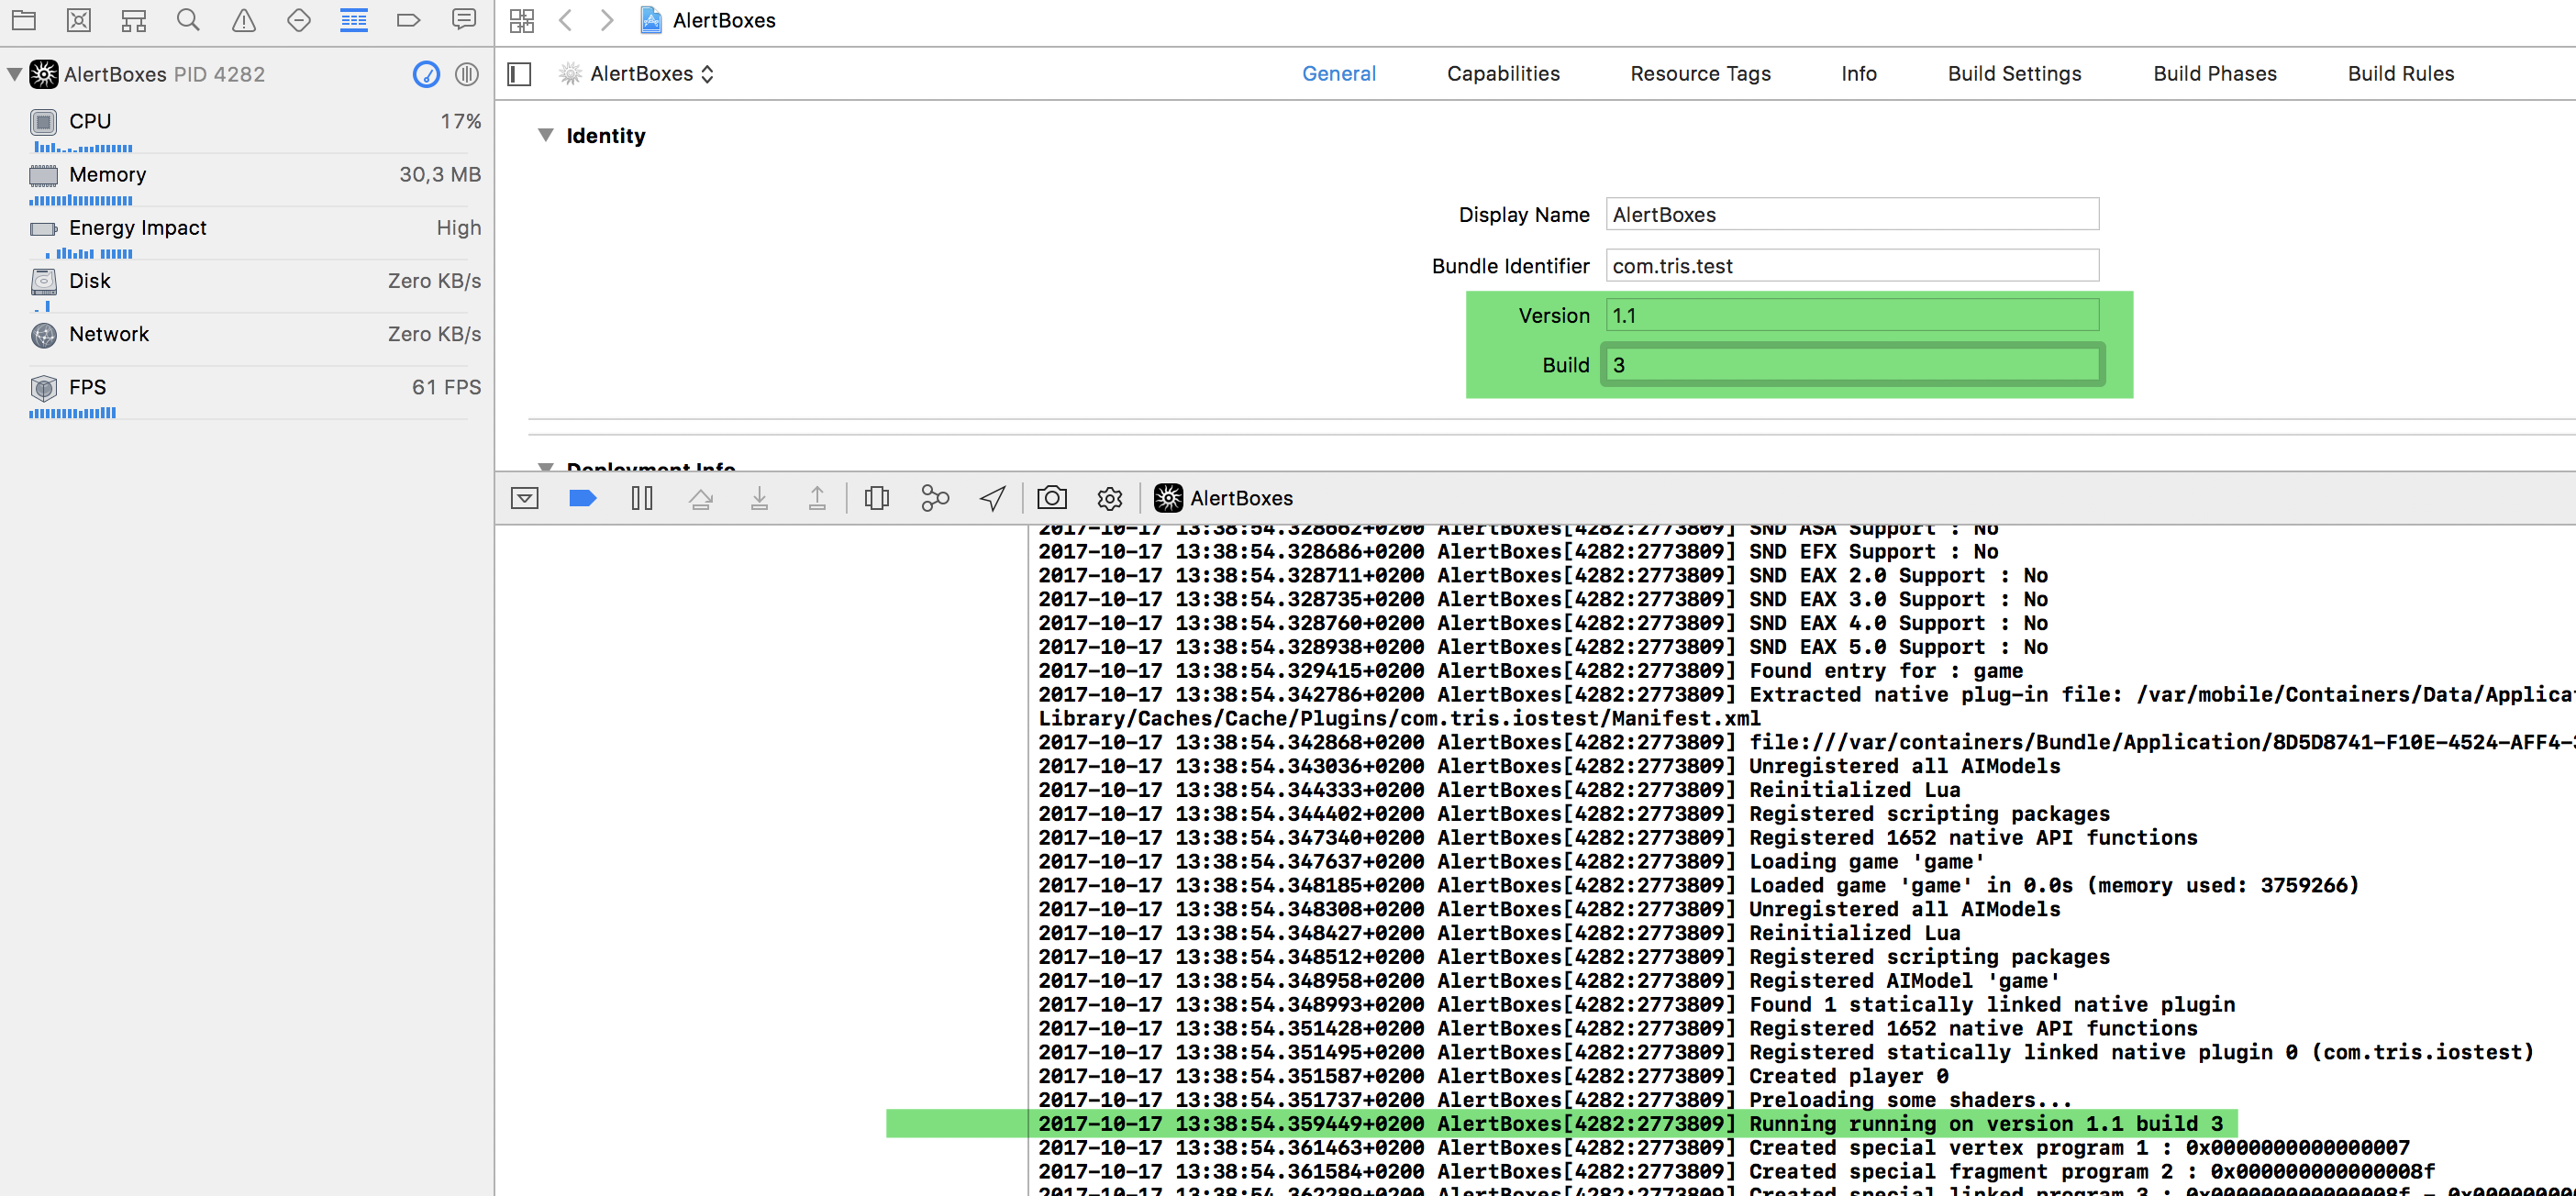
This compiles and works as expected:

Common Pitfalls
While mixing ShiVa C++ and Objective-C++ code, you must be aware of a number of potential pitfalls.
Similar names, different languages
Even though C++ and Objective-C++ have similar names, they are two different languages which will be compiled independently from each other. You will need to redefine all the C++ imports you need in your .mm file in order to use them. In the case of ShiVa plugins, you will need to
#include "Plugin.h"
in order to use any S3DX:: calls.
Headers and Includes
C++ references files through the #include keyword, Objective-C uses #import. If you wish to import and Objective-C header into a C++ file, you need to encapsulate the include into a preprocessor macro:
#include "MyCppClass.h"
#include
#ifdef __OBJC__
	#import "MyObjCCode.h"
#endif

Nil
Objective-C brings its own set of standard types. One of them in particular, NIL, conflicts
with the nil type in ShiVa. Either cleanly separate ShiVa C++ code from your .mm code by not
including Plugin.h in object code that depends on NIL(recommended), or replace all NILs with
NULLs (lazy last resort).

Auto
Objective-C types can often not be correctly deduced by the C++11(+) “auto”
keyword. Prefer declaring your Objective-C types explicitly.

Class members
It is technically possible to use Objective-C typed members in your C++ class. As with #imports, you have to encapsulate those in an __OBJC__ macro:
class CCM {
private:
	const char * _sEventMotion 	= "onCMMotion";
#ifdef __OBJC__
	NSTimeInterval			_objcCMPollingRate = 1.0/60.0;
	CMMotionManager			* _objcCMM;
	NSOperationQueue 		* _objcCMQueue;
#endif
public:
	CCM();
	~CCM();
	void engineEventLoop();
};
Otherwise you will get unknown type errors:

Method 3: Bridge Classes
By far the most common scenario you will face is this: You found a 3rd party SDK for iOS, or
want to integrate new iOS native core functionality into ShiVa, but those are written in
Objective-C and make use of Interfaces, Implementations, Delegates, Protocols and all the
other things that cannot be used directly in C++. To make these SDKs available in ShiVa, you
have to design a bridge class.
A bridge class consists of 2 halves, a C++ side and an Objective-C++ side, both in .mm
files. We can create the missing .h/.mm pair like before by creating a Cocoa Touch Class
from the New File dialogue, however this time our entries matter, since we will actually use
the skeleton code produced by Xcode. Choose a name for your bridge class (must be different
from the C++ class), and inherit fron NSObject unless you have good reasons to do something
else.

This will leave us with 4 files (2x .h, 2x .mm). In this example, “BridgeClass.*”
is the mostly-C++ class, and “BridgeClass_o.*” is the mostly-Objective-C++
class.

After applying the include/member variable rules from above, all we need is a way for these
two classes to interact. One convenient way to do this is via class pointers. The C++ header
file carries the “(id)” of the Objective-C class instance as a member variable:
//
//  C++ header
//  BridgeClass.h
#pragma once
class BridgeClass {
private:
	// target AI name
	const char * _sAI = "game";
	// pointer to the bridge ObjC-Class
#ifdef __OBJC__
	id _objcClass;
#endif
public:
	// constructor/destructor
	BridgeClass();
	~BridgeClass();
	// user plugin functions
	bool init (const char * sAI);
};
Likewise, the Objective-C class lists the BridgeClass pointer as one of its properties:
//
//  Objective-C++ header
//  BridgeClass_o.h
#pragma once
// C++ ShiVa plugin include
#include "Plugin.h"
// include C++ Bridge class header
#include "BridgeClass.h"
// Objective-C Class
@interface BridgeClass_o : NSObject
@property BridgeClass * pointerToCpp;
@end
As soon as the C++ class is constructed, it allocates momory for the Objective-C class counterpart and stores its (id) inside the member variable. Directly after that, the class pointer “this” is sent to Objective-C class through the automatically synthesized function “setPointerToCpp” which stores the result in the “pointerToCpp” @property. Since we are not using Apple ARC, we must make sure to destroy every Objective-C object ourselves by releasing it at the appropriate time:
//
//  C++ class implementation
//  BridgeClass.mm
#include "BridgeClass.h"
#import "BridgeClass_o.h"
// constructor/destructor
BridgeClass::BridgeClass() {
	_objcClass = NULL;
	_objcClass = [[BridgeClass_o alloc] init];
	[_objcClass setPointerToCpp:this];
}
BridgeClass::~BridgeClass() {
	[_objcClass release];
}
The init function inside the Objective-C class implementation is as simple as it can get. Note how the keyword “this” is changed to “self” in Objective-C, but otherwise does practically the same:
//
//  Objective-C Implementation
//  BridgeClass_o.mm
#import "BridgeClass_o.h"
@implementation BridgeClass_o
- (id)init
{
	self = [super init];
	if (self) {
	//initialize something here if needed
	}
	return self;
}
@end
With a connection like this established, you can now call C++ class member functions from Objective-C and vice versa. For instance, here is how you would invoke the “BridgeClass::logMessageFromObjC” method from the Objective-C function “createAlert”:
// Objective-C
- (BOOL)createAlert {
	if (!_pointerToCpp)
		return false;
	// auto-syntehsized underscore prefix!
	_pointerToCpp->logMessageFromObjC("This is a log from ObjC -> C++");
	return true;
}
The other direction makes use of the [] syntax as we have seen in method 2. For instance, here is how you would invoke the “createAlertWithString” method from the Objective-C class behind (id)_objcClass and transmit a single string argument:
bool BridgeClass::createAlert (const char * _sMessage){
	if (_objcClass == nullptr)
		return false;
	[_objcClass createAlertWithString:_sMessage];
	return true;
};
Example: Using a native iOS alert popup
As a practical example, I want to show how to use a native iOS framework (UIKit) and pop up a standard alert on the screen with a couple of buttons. First, we need to include the header of the framework we want to use:
// BridgeClass_o.h Objective-C++ header
// for alert box
#import
Next, we need to add a class method which allows ShiVa to call into our Objective-C class:
// BridgeClass_o.h Objective-C++ header
- (BOOL)createAlertWithString: (const char *) fromShiVa;
The implementation looks as follows:
// BridgeClass_o.mm Objective-C++ implementation
- (BOOL)createAlertWithString: (const char *) fromShiVa {
	S3DX::log.message("ObjC: message received!");
	S3DX::log.message(fromShiVa);
	UIAlertView *alert = [[UIAlertView alloc] initWithTitle:@"ShiVa Alert"
                    message:[NSString stringWithUTF8String:fromShiVa]
                    delegate:self
                    cancelButtonTitle:@"Cancel"
                    otherButtonTitles:@"Choice", @"Another one",  NULL];
	[alert show];
	// Not using ARC? Release alert view
	[alert release];
	return true;
}
UIAlertView is long deprecated, but it still works and allows me to easily show another useful Objective-C feature you will need to deal with in your plugins: delegates.
Delegates
Delegates can be thought of as quite similar to ShiVa handlers. When you send a message
(user.sendMessage()/object.sendMessage()), you expect your target AI to have an event
handler with a certain number of arguments which processes your message. Similarly,
UIAlertView sends messages to a delegate with certain predefined functions using a protocol.
In the code above, we defined the delegate to be “self”, which means we have to
implement the delegate functions (our “event handlers”) in the BridgeClass_o.mm
file:
- (void)alertView:(UIAlertView *)alertView clickedButtonAtIndex:(NSInteger)buttonIndex {
	S3DX::log.message("Alert button #", (float)buttonIndex, "pressed!");
}
“alertView” and its prototype are predefined by UIKit and will get called
automatically when a button belonging to (UIAlertView *) is clicked.
It is customary to declare the delegate protocol on the interface using angled brackets:
@interface BridgeClass_o : NSObject <UIAlertViewDelegate>
...
@end
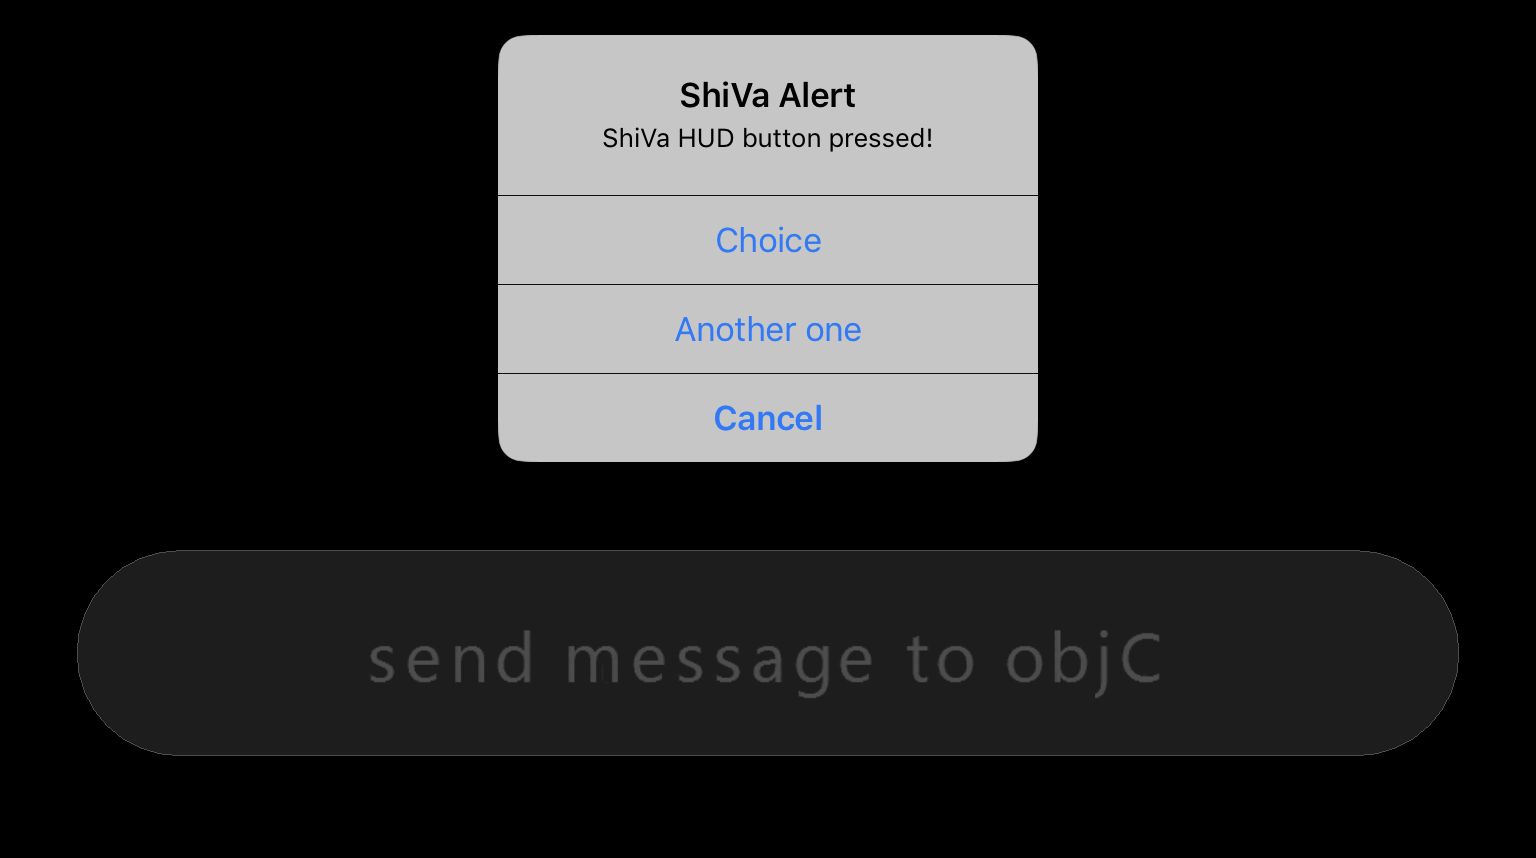
The result of the code looks like this:

All log messages are visible in the Xcode debugger:
